-
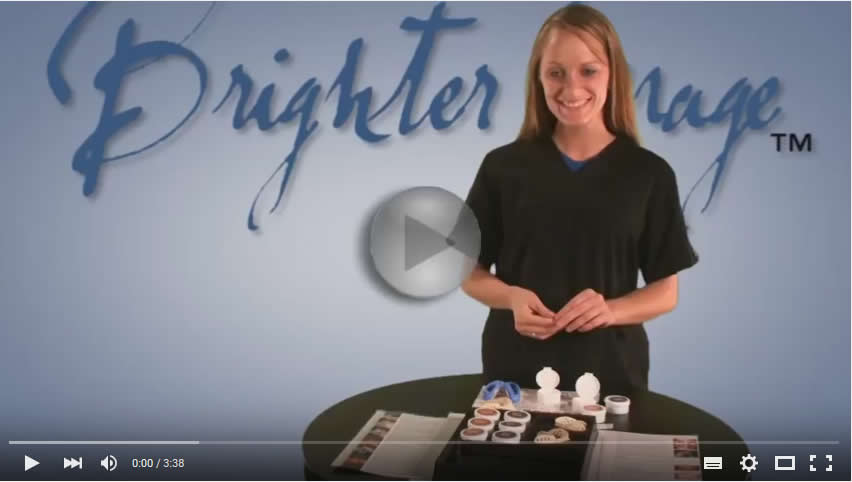
We express you our lab direct system by courier. Then open our system and read the four point instructions to properly bite down on our impression trays.
-
After successfully taking your impressions you return them to our dental lab (we provide the postage paid envelope) where we then fabricate your custom fitted bleaching trays – made the same way we do for cosmetic dentists.
-
We express your custom fitted bleaching trays back to you usually with in 24 hours. IT’S THAT EASY!! Now you have received the exact custom fitted bleaching trays and have the finest quality whitening gel without paying a dentist. Lab Direct™ saves you 100′s, it’s that easy.

Teeth Whitening Gel Instructions:
Prior to Treatment:
For maximum effect, brush and floss your teeth prior to whitening. Make sure your teeth are dry as moisture could reduce the potency of the gel.
Applying the Gel:
Remove the clear cap, and twist on the dispenser tip. Please save the clear cap, you will replace it after dispensing the gel. You do not need to use a lot, the attached tip will dispense the proper amount, about ¼ to ½ the size of a pea per tooth in to your tray. Make sure the full surface of the tooth is covered so that it does not cause spotting. You may use a Q-tip to help spread the gel even.
Wearing Time:
Your first day using the gel, apply it for up to 10 minutes, if you feel comfortable enough after testing for 10 minutes, and there was no sensitivity, the following day you can apply for 20-25 minutes. Maximum wear time is 30-40 minutes
In the unlikely event sensitivity did occur, skip the 2nd day and use the gel again the 3rd day for 10-15 minutes then the 4th day you can go up to regular usage, unless you feel you need to skip one more day. Doing this helps your teeth adjust to the gel and minimizes sensitivity that is occurring.
A normal whitening cycle is 6-8 days, not including any skipped days. Some stains may require 2 cycles depending on the types of stain and the length of time the stain has set in for. Everyone’s teeth are different.
After Whitening:
Whiter Smile Labs teeth whitening gel will cause much less gum irritation and teeth sensitivity then other gels on the market. If you do experience sensitivity, it is recommended to use our Remineralization gel or Sensodine type toothpaste after using the gel. Our teeth whitening gel is professional strength, use as instructed for fast whitening results, with little to no sensitivity.
After whitening make sure to rinse any remaining gel off your teeth. Clean any remaining gel from your trays with warm water. Please store the whitening gel in the refrigerator and keep cool.
Remineralization Gel Instructions
(blue gel)
Remineralization gel helps strengthen your enamel by restoring nutrients to your enamel. It also reduces sensitivity of your teeth. It is great for people who have sensitive teeth, especially first-time bleachers. Remineralization gel is also known as Desensitizing gel.
- Make sure your trays are clean and dry before applying Remineralization gel into them.
- Apply the Remineralization gel to your trays the same way you did with your teeth whitening gel.
- Wear trays as needed from 30 minutes to 4 hours. Overnight applications are acceptable.
- Upon completion of your Remineralization session, clean your trays with warm water
- You may conduct your Remineralization session as often as needed
ThermoForm Whitening Trays Instructions:
Please read all steps before starting.
Step 1: Place the tray over the upper teeth without placing the tray in boiling water. Practice with your tongue on the roof of your mouth and touching the inside of the tray. Suck the air from the tray. (Like sucking through a straw) this contours the guard to the inside surface of the teeth. When finished, repeat with the lower tray. This is the procedure you will use when you retrieve the tray from the boiling water.
Step 2: Bring water to a boil. The bowl should be at least 4” deep to ensure the tray’s full immersion. Remove the container from the heat and place tray in the hot but NOT boiling water. Leave tray in water for 5 seconds. Make sure the edges do not fold onto each other. NOTE – Overheating may damage or over-shrink the bleaching tray.
Step 3: Lift the tray vertically from the water using the tab. Carefully and quickly place the tray around the teeth and then immediately perform the procedure outlined in step 1. Press in on the tray with your fingers on both sides of the tray, molding the soft material around your teeth and gum line. Tray will be formed in 30 seconds.
Step 4: Once you are satisfied with the fit, you can trim the front tab on the tray.